
How do I turn on my MRQ?
-
Connect the opposite end of your power cable (the round end) to MRQ (it plugs into the small hole on the side).
-
Plug it into an outlet.
-
In about 30 seconds, the MRQ photo frame home screen will appear.
Second, connect your MRQ to Wi-Fi:
1. Turn on the MRQ photo frame and Click the "setting" on the main menu.
2. Click the "Wi-Fi" icon on the setting menu.
3. Choose your network from the list of WiFi networks.
4. Type in your WiFi password using the touch-screen keyboard. Make sure there are no typos!
MRQ photo frame will confirm when it has connected to the WiFi.
1.Turn on the MRQ photo frame and Click the "setting" on the main menu.
2. Click the "Wi-Fi" icon on the setting menu.
3. Choose your network from the list of WiFi networks.
4. Type in your WiFi password using the touch-screen keyboard. Make sure there are no typos!
MRQ photo frame will confirm when it has connected to the WiFi.


Third, find your Frame ID on MRQ
After you connected WIFI, please touch "Device Info" to check your Frame ID.

Forth,download the APP "our photo"
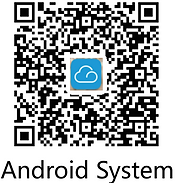
For Android Phone, you can download the following the APP "Our Photo" directly to your Cellphone.
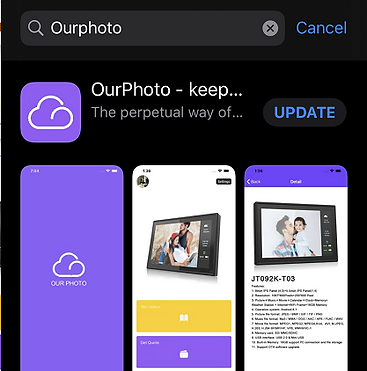
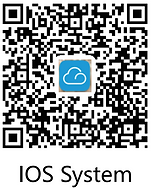
For iOS Phone, please go to the Apple Store and search "Our Photo" as following one on your phone, or through following apple store link:
https://apps.apple.com/cn/app/ourphoto-keep-our-memories/id1476241568
Fifth,register a account on the APP
1, fill in your username and your password;
2, fill in your password in the "verify password" Box again;
3, fill in your email address and click the triangle icon at the right hand of the email box on the APP registration menu ;
4, check your email box and fill in the verify code send from "ourphoto@email.ourphoto.cn" with the title "Verification Code". and at the last, click Submit.
App registration is finished. You will receive a message saying "successfully"

Sixth,active the MRQ WIFI photo frame
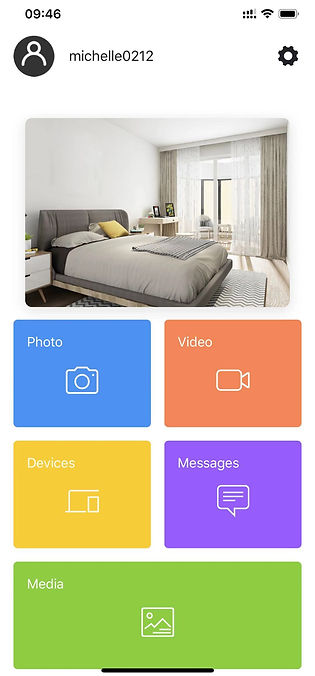
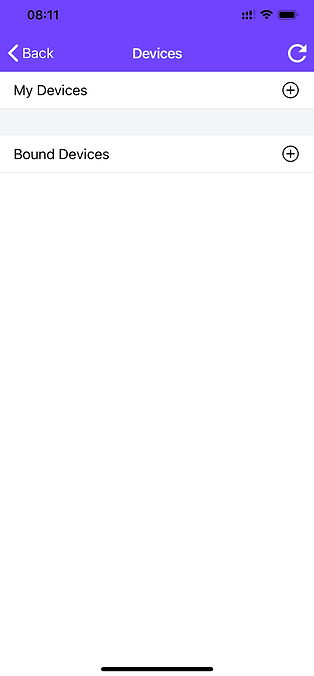
Step1: Open the APP "ourPhoto" and click the "Devices"
Step2:Click the plus at the right hand of the "My devices".
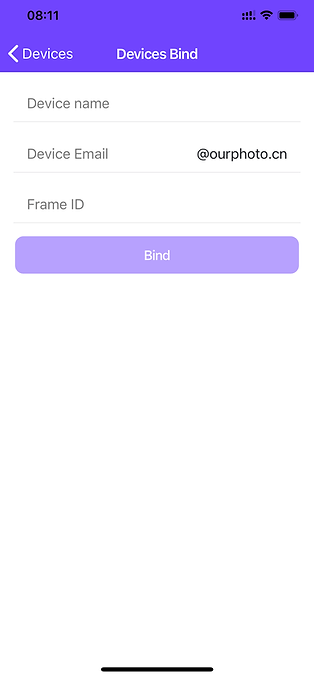
Step3: Fill in the name of the frame. You can give the Device a nick name.
Then fill in the Frame ID as the "Device email"
At the end, fill in the Frame ID again
Step4: Click the "Bind" icon.
7th,accept the activation on MRQ device
After you finish last step successfully, you will see following page on your App.
It shows your activation is waiting for confirmation.

Go back to your MRQ device and get in the setting-user management page and cllick Accept.
Make sure the right corner "accept new user" is available.

Your MRQ wifi photo frame should now be activated! You can start sending photos to your personalized Photo frame through APP.